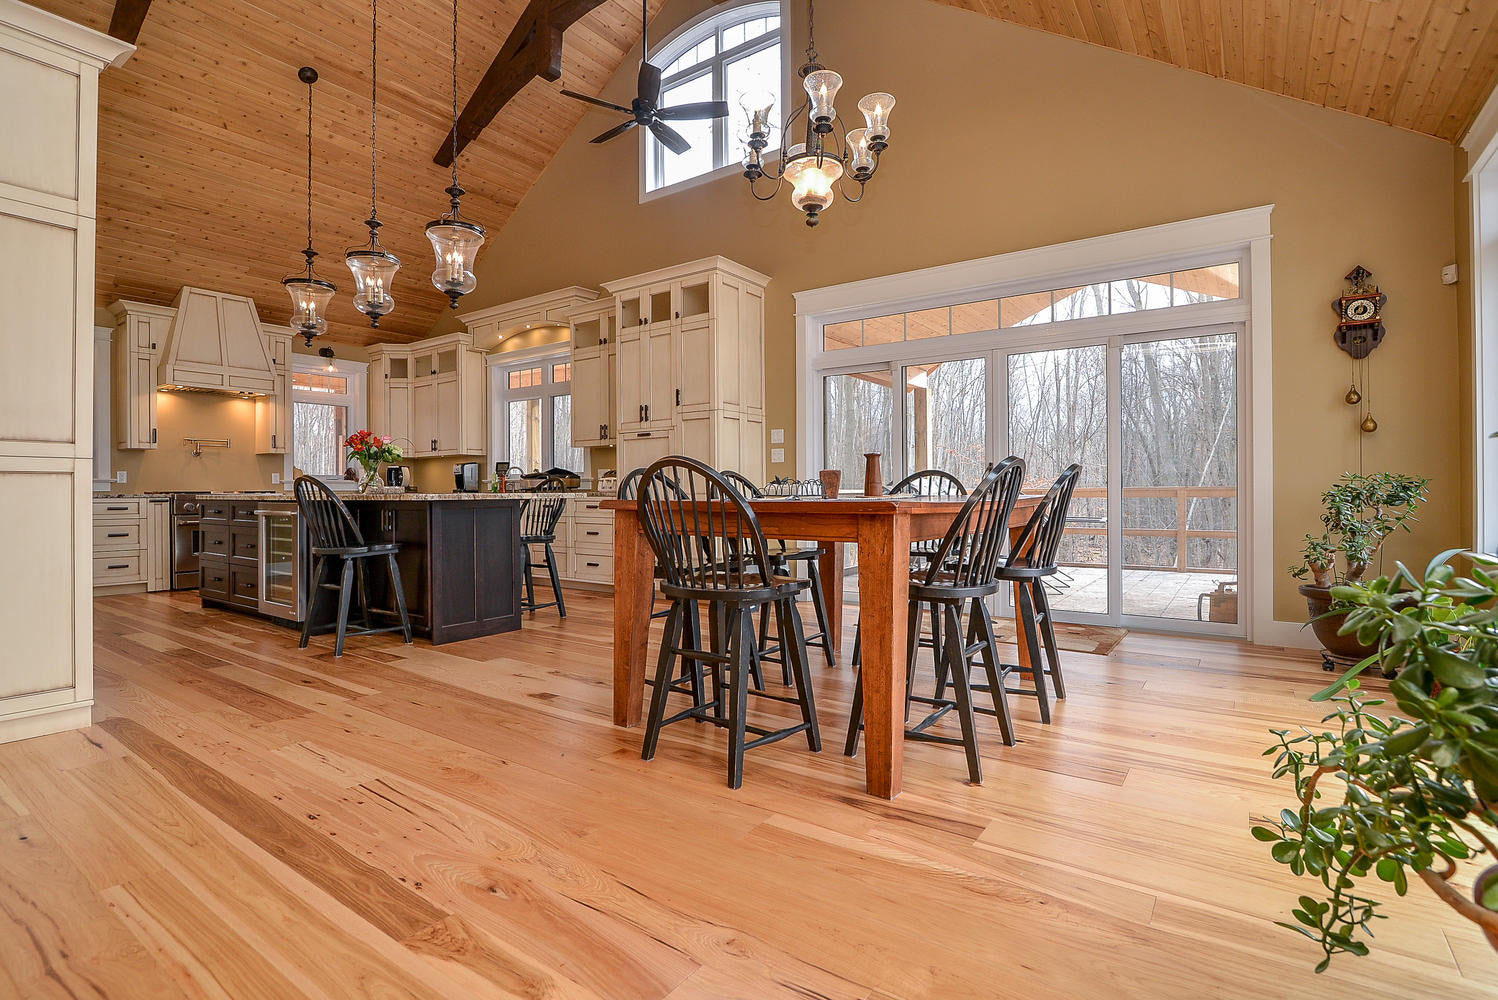
Installation of Wide Plank Flooring
Nail down installation of wide plank solid and wide plank engineered flooring requires additional bonding to the subfloor to prevent movement and squeaks. This is done by introducing glue to the nailing process. The installation method recommended is not a full glue down installation, but only a bead of glue across the width of the board. This is recommended on all wide plank solid and engineered floors 5” and wider, installed on a plywood or OSB subfloor.

- Starting the install constitutes that you have accepted the Jobsite conditions; the product is properly acclimated moisture testing is complete; and panel products/subflooring are prepared to proceed.
- Product can be installed above-grade or on-grade level on a wood-based subfloor.
- Solid hardwood must be installed perpendicular to the joists or on a diagonal for any single layer subfloor. To run parallel to the floor joists, you must add a layer of 1/2” plywood underlayment or brace every 16” between the joists with a nominal 2” x 6” spf nailed in place. Some joists systems cannot be cross braced and maintain stability.
- Have moisture vapor retarder running perpendicular to flooring leaving 1” between to allow for glue line. On 5” & 6” widths use full width (36”) approved vapor retarder. On boards 7” & wider cut vapor retarder in half (18”) which doubles the number of glue lines. Apply a 1/4- 3/8” bead of glue on the subfloor between the vapor retarders. I would suggest not doing more than 3-4 rows worth of gluing to avoid the glue drying prematurely and it reduces the risk of tracking glue on the floor. If glue gets on floor clean it off as soon as possible. If you have minor width variations the wide planks this is normal and expected and part of the look of a wide plank floor. If heights of the boards are slightly different use small shims to pop up the lower pieces.
- If using a pneumatic nailer/stapler, the air pressure must be set so the fastener does not drive in too deep and crack the tongue.
- Select a starting point according to the most aesthetically or architecturally important elements in the room, taking into consideration any stairways, hallways, fireplaces, doors, cabinets, adjoining tile and transitions; as well as the squareness of the room. The starting point will often be the longest unbroken line in the room. The use of spline allows you to start wherever you choose. Watch our YouTube Video on this topic: https://www.youtube.com/watch?v=YUYGiaV-PlM 5. Because fasteners penetrate the tongue of the flooring at an angle, they act like tent pegs and resist a great deal of force in the direction the fastener enters the subfloor. For this reason, wood flooring has a tendency to expand mainly in the direction the tongue is facing. In rooms wider than 20 ft., this one-directional movement can cause a problem on the side of the room in which the flooring expands. Starting the installation in the center of large rooms can reduce these potential problems by forcing the expansion to go in two directions. Since the tongues on either side of the room face different ways, the floor will still expand the same amount, but instead of all the growth focusing on one side, half will go to the opposite side. This reduces the likelihood that there will be enough movement to cause cupping and cracking.
- Use 2” cleats, 1-2” from the board ends, and 4-6” apart with a minimum 4 cleats per piece. The Ontario Building Code requires cleats be used in all floors with a width of 4” or greater.
- Allow 3/4” on the width and 1/4” on the length for expansion. Undercut drywall and use tmould between the tile and hardwood when running widthwise
- To have the most aesthetically pleasing look have no joints closer than 3 times the width of the pieces; avoid H Joints and stair stepping from not completing rows.
- Proceed with the installation until there is insufficient space to use the floor nailer. Remove your backer board. Glue the groove; insert the spline and fasten the piece with the floor nailer. Continue the installation in the other direction until there is insufficient space to use the floor nailer. To finish the last rows, treat them as in a floating floor installation by gluing the boards together at the tongue and groove; as well as brad nailing or hand nailing the boards in place. Never glue the last rows to the subfloor, as this prevents the hardwood floor from expanding. Face nail only the last row if it will be hidden by baseboard or quarter round (gluing the last rows together at the tongue and groove will keep them connected, enabling them to move with the rest of the floor through seasonal changes).
- Once the boards are installed, they are considered to have been accepted by the installer and homeowner.

After installation, use an approved protective cover to protect the floor. Using empty flooring boxes is not acceptable. Although the cardboard may prevent damage to the surface, it will attract and hold moisture on the floor, causing the boards to cup and crack. The entire floor should be covered, since some species are light-sensitive and uncovered areas may change color. Use a covering material with a vapor permeance (perm rating) of 1 perm or more (tested in accordance with ASTM E-96) to avoid trapping moisture/vapor on or within the floor. A common reinforced builder’s paper is a good choice. Any covering should be taped, using a low-adhesion tape (Blue 3M), to the base or shoe mouldings. Avoid taping to the finished flooring, as it may react and weaken the finish. The resin that prevents the tape from drying out can chemically react with the finish, causing it to come off when the tape is removed. When taping sheets together, tape them to each other and not to the floor


